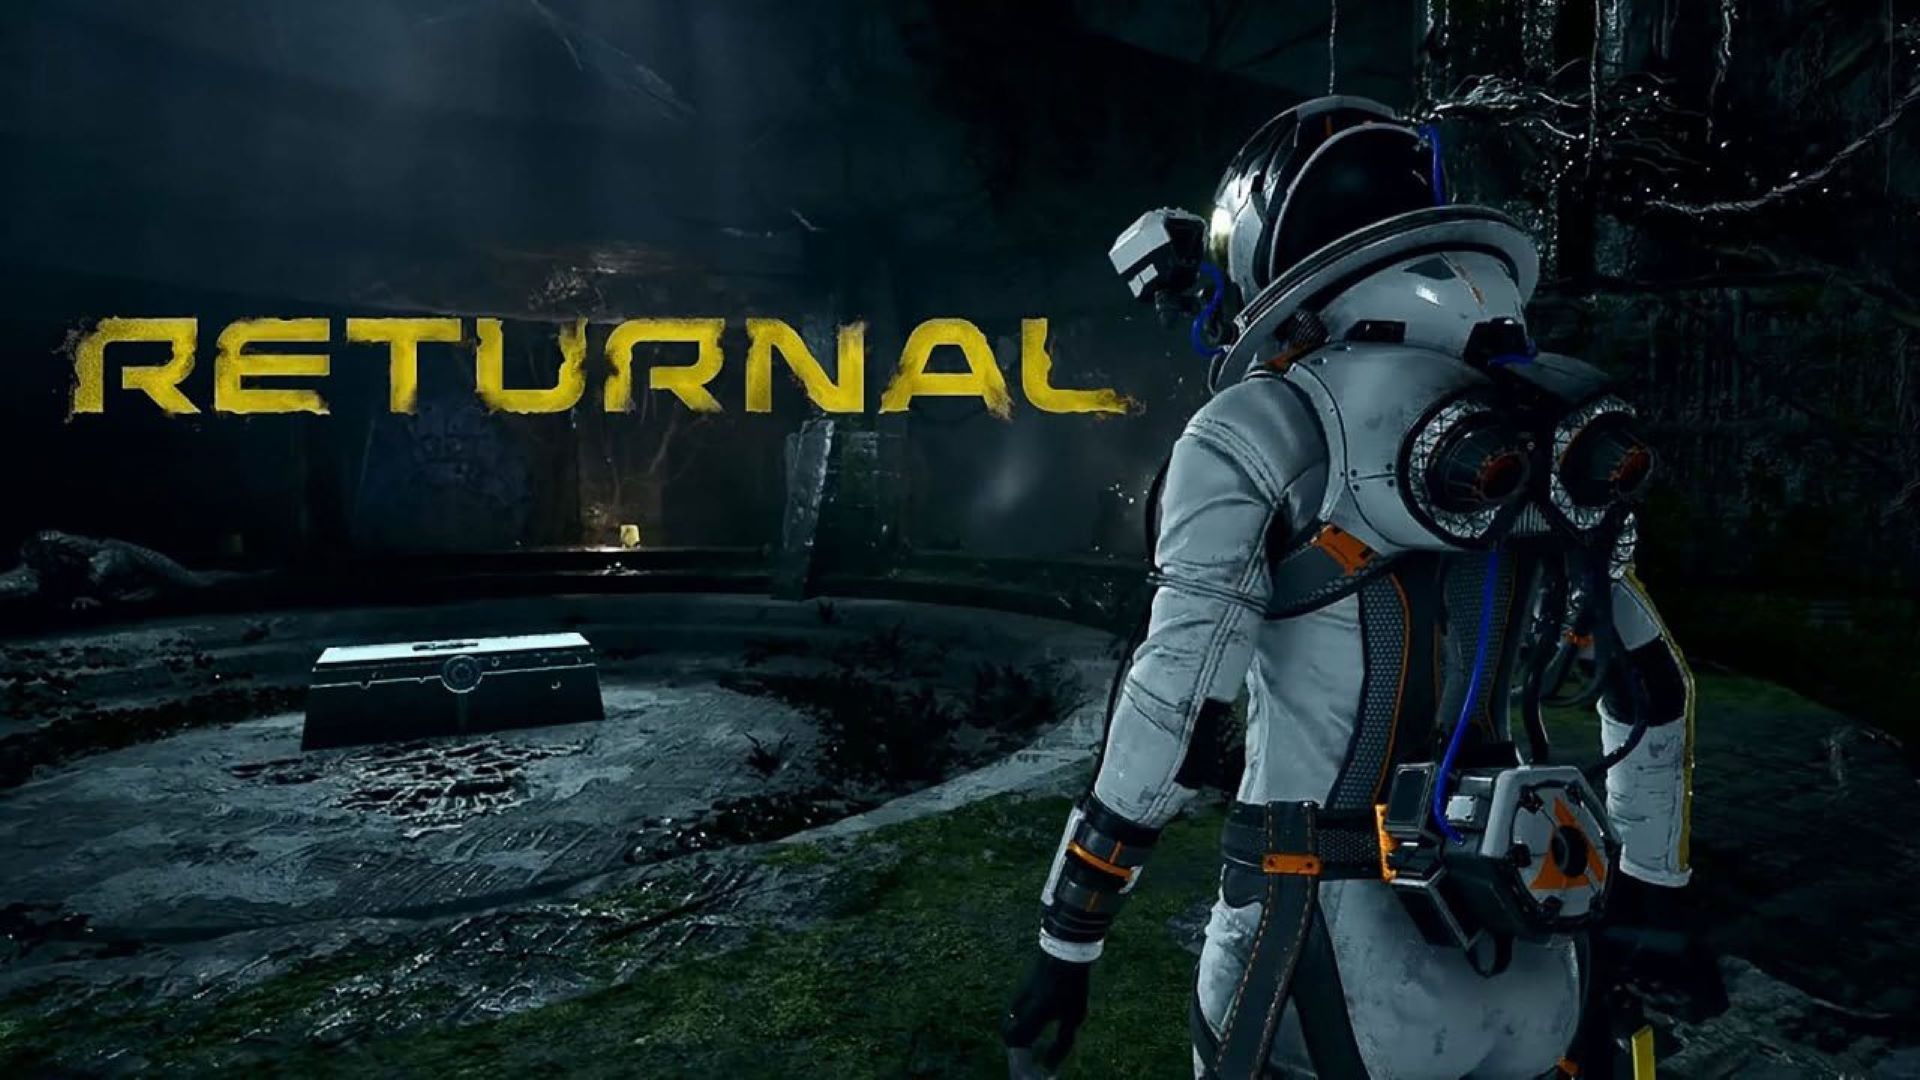
Developed by Housemarque, Returnal is a third-person action game that fuses roguelike progression, bullet hell combat, and psychological horror. Players take on the role of Selene, an astronaut who crash-lands on the ever-shifting alien planet of Atropos, waking up beside her wrecked ship after every death to find the world utterly transformed. The game’s punishing difficulty and permanent death mechanics have driven many players away, but once you grasp its internal rhythms, the cycle ceases to be a punishment and becomes an accumulation of power.
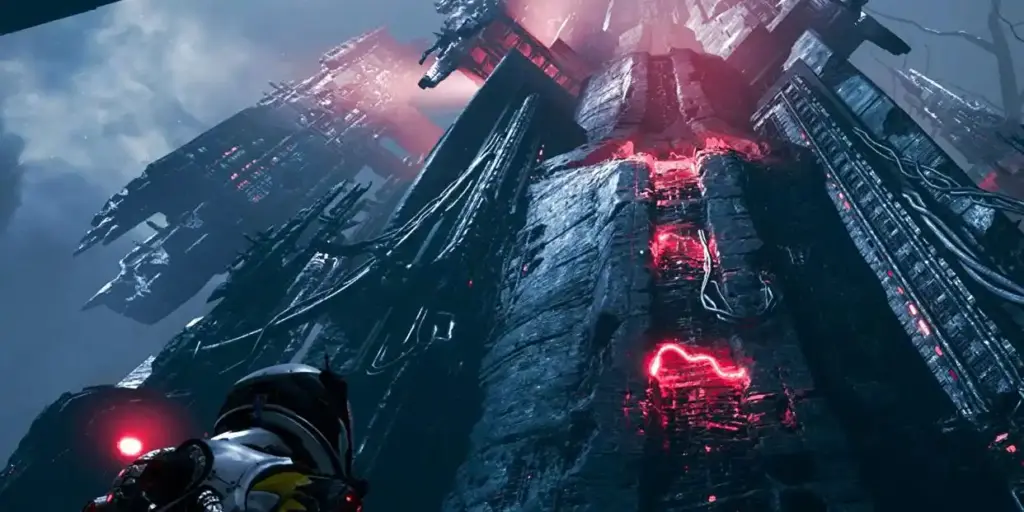
Understanding the Cycle: What Is Lost, What Is Kept
The most bewildering aspect of Returnal is understanding which items vanish upon death and which persist. Once this distinction is clear, death becomes far less demoralising.
Upon dying, you lose the vast majority of what you are carrying: all currently held weapons, consumables, artifacts, parasites, Obolites (except Ether), and most keys. The map is also fully reset, requiring you to explore a newly generated version from the start.
However, several things are permanently retained. The first is Ether — the most important permanent currency in the game. Ether is not lost upon death and can be exchanged for new items at the Ether column in the starting room, or used at a Reconstructor during a run to pay for a resurrection. The second is Weapon Traits. Every weapon carries traits with proficiency levels. By using a weapon to accumulate kills, you permanently unlock and upgrade these traits. In any subsequent cycle, finding a weapon with that trait will grant its benefits immediately. The third category is Permanent Equipment. Key items such as the grapple hook, underwater breathing apparatus, and stealth abilities — obtained through boss fights or specific areas — are retained permanently once acquired. These items grant access to previously unreachable areas, functioning much like ability gates in a Metroidvania title.
Once you understand these three retention categories, you will recognise that the most important task after each death is not to rush straight back to the boss chamber. Instead, the priority is to collect Ether, work on unlocking or upgrading weapon traits along the way, and use your existing permanent abilities to explore newly accessible shortcuts. With this approach, every death contributes to lasting progress.
Weapons and Traits: Look Beyond the Stat Screen
The game features ten base weapon types, including the Sidearm, Tachyomatic Carbine, Spitmaw Blaster, Electropylon Driver, Rotgland Lobber, Thermogenic Launcher, Pyroshell Caster, Dreadbound, Coilspine Shredder, and others. When a weapon is picked up, it is randomly assigned a Weapon Trait. The first time you encounter a specific trait, a progress bar appears beside it. You must fill this bar by killing enemies; once filled, the trait is permanently unlocked.
A common mistake made by new players is to judge a weapon solely by its level and damage bonus while ignoring its trait. A Sidearm with the Homing Missile trait will clear groups of enemies far more efficiently than an unmodified high-level Carbine. Another mistake is switching weapons too frequently. To unlock traits, you should actually aim to use the same weapon for as much of a run as possible, in order to complete the trait progress bar. Even if the stats are slightly inferior, the investment is worthwhile because the unlocked trait will appear on all future weapons of that type, representing a permanent upgrade for every subsequent cycle.
Traits that should be prioritised for unlocking include: Homing Missile and Ricochet for the Sidearm, Hardened and Leech Rounds for the Tachyomatic Carbine, and Streamlined Chamber for the Electropylon Driver. Once these traits are unlocked, the opening of each new run will feel significantly different.

Adrenaline and Obolites: Combat Tempo Determines Income
The in-game currency, Obolites, drops primarily from enemies but fades away quickly, forcing you to fight at close range. Simultaneously, the game features an Adrenaline system. Killing enemies in succession without taking damage builds the Adrenaline level up to a maximum of five, with each level providing a different bonus — increased melee damage, enhanced weapon damage, faster reload speed, additional Obolite drops, and so on. Taking a single hit resets Adrenaline to zero.
This means the game’s reward mechanics and combat style are tightly coupled: staying mobile, avoiding damage, and harvesting Obolites at close range are required for maximum gain. To progress efficiently, you need to dash in to collect Obolites between kills while simultaneously tracking enemy projectile patterns to dodge incoming fire. Do not hang back and slowly plink away from a distance. While that approach is safer, the economic return is so poor that you will lack the resources for health packs and upgrades, making the later stages increasingly difficult to survive.
Parasites and Risk-Reward Evaluation
Parasites are scattered throughout the game, each offering one positive effect and one negative effect simultaneously. Once attached, a Parasite cannot be removed except through specific items or death. New players often refuse to pick up Parasites due to the negative effects, which is a mistake. Many negative effects are negligible. For example, a penalty of “melee damage reduced by 15%” is effectively free if your playstyle does not involve melee at all. Some negatives only trigger under specific conditions, such as “take damage when using a key” — which is completely harmless if you are not carrying any keys.
The correct approach is to evaluate your playstyle and current resources before deciding whether to pick up a Parasite. If you have no keys, any key-related negative is safe to take. If you primarily rely on ranged attacks, melee-related negatives can be picked up without concern. Parasites are flexible tools for compensating for gaps in your current equipment loadout.
Core Boss Strategies: Phrike, Ixion, Nemesis
The game contains six bosses, with the first three presenting the steepest hurdles for new players.
Phrike is the first biome boss. It fires homing projectiles and performs melee lunges. The core strategy for phases one and two is identical: maintain mid-range distance, focus on dodging projectiles, and move in for melee attacks after it finishes a lunge. During the third phase, it fires projectiles and performs melee attacks simultaneously at an increased tempo, but the underlying logic remains the same. Stay calm. Most of its projectiles can be avoided through lateral strafing. Press dodge only when necessary; do not spam the dodge input.
Ixion is the second biome boss. In its second and third phases, it takes to the air and unleashes dense bullet patterns. During the ground phase, watch for its diving attack and evade with a lateral dash. The aerial phase’s barrages may appear overwhelming, but there are clear safe gaps between the projectiles. Keep moving through them and avoid hugging the edges of the arena.
Nemesis is the third biome boss, fought across three phases with increasing distance in each. The first phase is close-quarters combat; prioritise dealing with the AI companions it summons. The second phase takes place across floating platforms at mid-range; use the grapple hook to reposition between platforms and evade lasers. The third phase is long-range; maintain sustained fire with a long-range weapon while grappling from platform to platform as the boss destroys them one by one. Before facing Nemesis, it is highly advisable to save up a healing vial and an Astronaut Figurine for two layers of insurance.