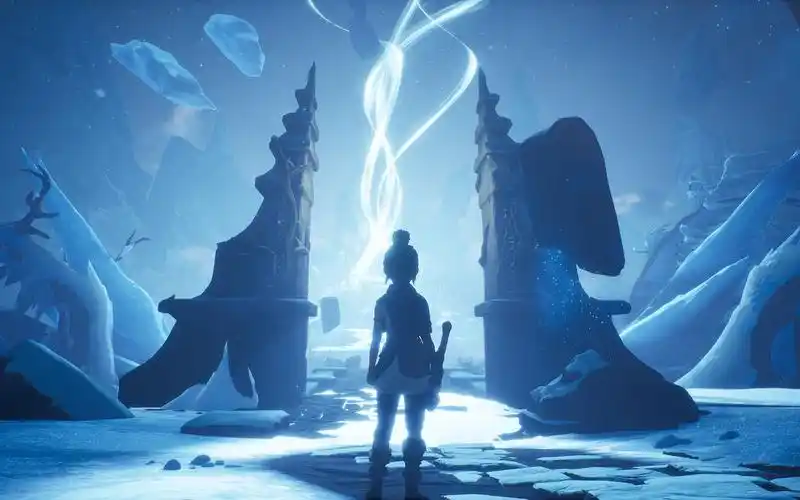
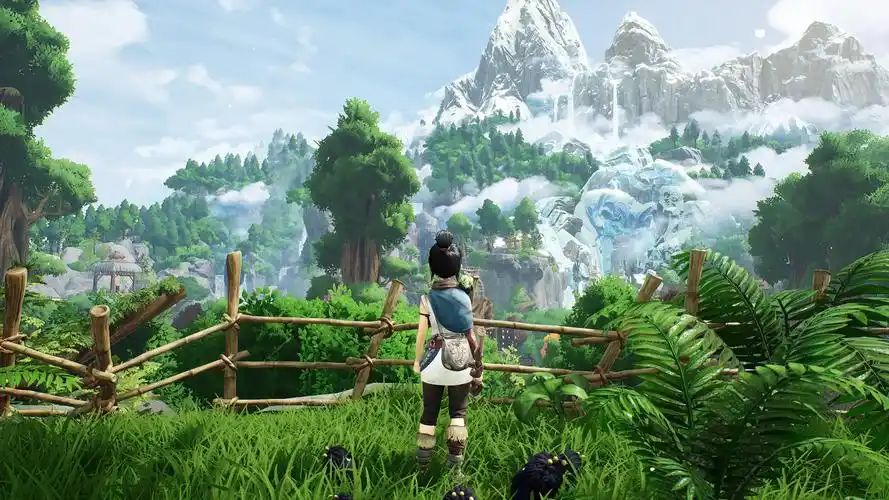
Developed by Ember Lab and released in 2021, Kena: Bridge of Spirits is an action-adventure game that follows Kena, a young spirit guide who travels to a forgotten village nestled deep in a mystical forest. Her task is to understand the corruption that has befallen the land, help restless spirits pass on to the next world, and uncover the tragedy that left this place abandoned. The game blends fast-paced melee combat, environmental puzzle-solving, and a companion system centered on the Rot, small spirit creatures that Kena can direct in both combat and exploration. Beneath its charming animated exterior lies a surprisingly demanding combat system, with boss encounters that will punish careless play even on normal difficulty.
Combat Fundamentals and the Shield Mechanic
Combat in Kena revolves around three core tools: the Staff, the Bow, and the Shield. The Staff is Kena’s primary melee weapon. Light attacks are fast and can be chained into combos. Heavy attacks are slower but deal more damage and can stagger smaller enemies. The Bow is used for ranged combat and for solving environmental puzzles. Kena can carry a limited number of arrows, and more can be found by striking certain glowing plants scattered throughout the environment.
The Shield is the most important defensive tool in Kena’s arsenal, and understanding how to use it correctly is the single most important lesson for any new player. The Shield can block most incoming attacks, but it has a limited durability represented by a circular gauge that depletes with each blocked hit. If the gauge empties, the Shield breaks, and Kena is briefly stunned and vulnerable. The Shield gauge regenerates automatically when it is not in use, so the rhythm of combat is to block a few attacks, then drop the Shield to let it recharge while you dodge or counterattack.
The Pulse ability, unlocked early in the game, is a burst of energy that Kena can release from her Shield. Pulse serves multiple functions: it can stagger nearby enemies, activate certain environmental objects, and most importantly, it can be used to execute a Parry. Pressing Pulse at the exact moment an enemy attack would strike the Shield will deflect the attack entirely and leave the enemy open for a counterattack. Parrying is the most efficient way to deal with shielded enemies and heavily armored foes, and mastering its timing will make every boss encounter significantly more manageable. The visual cue for a successful Parry is a brief flash of light and a distinct sound effect; learn to recognize both, as they are your signal to immediately follow up with a heavy attack.
Bomb and Dash are acquired later in the game and add further layers to combat. Bombs can be thrown to damage groups of enemies or destroy specific obstacles. Dash allows Kena to perform a quick evasive maneuver that passes through enemy attacks. Dash has invincibility frames, but they are shorter than the dodge roll in most action games, so timing it correctly requires practice.
The Rot: Your Most Versatile Tool
The Rot are small, dark, fuzzy spirit creatures that Kena collects throughout the game. They are not merely cosmetic companions. They are the central mechanic that ties together combat, exploration, and puzzle-solving.
In combat, the Rot can be directed to perform several actions. Rot Hammer, unlocked early, sends a group of Rot slamming into an enemy for high damage and stagger. Rot Arrow, unlocked later, binds an enemy in place for several seconds, preventing them from moving or attacking. Rot Infusion, the most powerful ability, temporarily empowers Kena’s attacks with Rot energy, significantly increasing her damage output. Rot abilities consume one or more Rot actions, which are represented by small diamond-shaped indicators on the screen. Rot actions regenerate over time, and finding Rot collectibles in the environment increases the maximum number of actions available.
In exploration, the Rot are used to move objects, activate mechanisms, and reveal hidden paths. The game will indicate when Rot interaction is possible by highlighting the target object with a soft blue glow. Many of the game’s hidden collectibles are locked behind Rot puzzles that require you to command a specific number of Rot to lift or rotate an object.
Rot collection is the most important side activity in the game. Rot are found in hidden nooks, behind waterfalls, and at the end of optional platforming challenges. Each Rot you collect increases your maximum Rot actions, making combat easier and unlocking new areas. There are one hundred Rot in total, and collecting all of them is required for the game’s true ending. The game provides a helpful tool for Rot hunting: if you send the Rot out to explore while standing still, they will fly toward any nearby Rot you have not yet collected and point in its direction.
Boss Strategies for Critical Encounters
Kena features a series of major boss fights, each of which tests a different aspect of the combat system.
Kappa is the first real test of the Parry mechanic. Kappa attacks with sweeping claw strikes and a charging headbutt. The claw strikes are easy to block with the Shield, but the headbutt must be dodged or Parried. The strategy here is straightforward: block the claws, Parry the headbutt, and follow up with a Rot Hammer when Kappa is staggered. Do not waste Rot actions on regular attacks — save them for the stagger window, when Kappa takes bonus damage.
Wood Knight is a heavily armored enemy that will punish players who have not learned to Parry. Its attacks are slow but deal massive damage. The basic sword swings can be blocked, but its charged overhead slam will break your Shield in a single hit. You must Parry the slam. The timing is generous — press Pulse when the sword reaches the highest point of its arc and begins to descend. A successful Parry will stagger Wood Knight for several seconds, giving you time for a full combo and a Rot Hammer.
Corrupted Taro is the boss that separates players who have been paying attention from those who have been relying on luck. Taro is fast, aggressive, and has multiple phases. The first phase is a straightforward duel. The second phase introduces area-of-effect attacks that cover much of the arena. The third phase combines everything Taro has with the addition of a leaping slam that must be dodged at the last moment. The Rot Arrow is essential in this fight — use it to bind Taro in place during his most aggressive attack sequences, giving you a window to heal or counterattack. The Bow is also useful for dealing chip damage during phases when closing to melee range is too dangerous.
The Rot God is the final boss and the game’s ultimate challenge. This fight tests every skill the game has taught you. The boss is massive, and its attacks cover nearly the entire arena. The core strategy is to use Dash to evade its sweeping attacks, Parry its direct strikes, and use Rot Infusion during the brief windows when the boss is vulnerable. There are Rot actions scattered around the arena that can be collected mid-fight, so do not be afraid to use your abilities liberally — you can replenish them. The final phase of the fight is a test of endurance and resource management. If you have collected a large number of Rot, this phase is manageable. If you have rushed through the game without exploring, it will be extremely difficult.
Hidden Collectibles and the True Ending
Kena has a true ending that requires collecting all one hundred Rot. The standard ending is available to any player who completes the main story. The true ending provides a final cutscene that recontextualizes the entire narrative and reveals the true nature of the Rot and Kena’s connection to them.
In addition to the Rot, the game features several other types of collectibles. Spirit Mail are letters left by the villagers, each one telling a fragment of the story of what happened to the village before it was abandoned. Cursed Chests are optional combat challenges that reward the player with Rot and other collectibles upon completion. Flower Shrines are small altars that restore Kena’s health and provide a small number of Rot actions.
The most challenging collectibles to find are hidden behind platforming challenges. The game’s platforming is simple but precise, and some of the optional areas require a combination of Dashes, double jumps, and Rot-powered mechanisms to reach. If you see a ledge or platform that looks like it might be reachable, it almost certainly is, and there is almost certainly something waiting for you there.