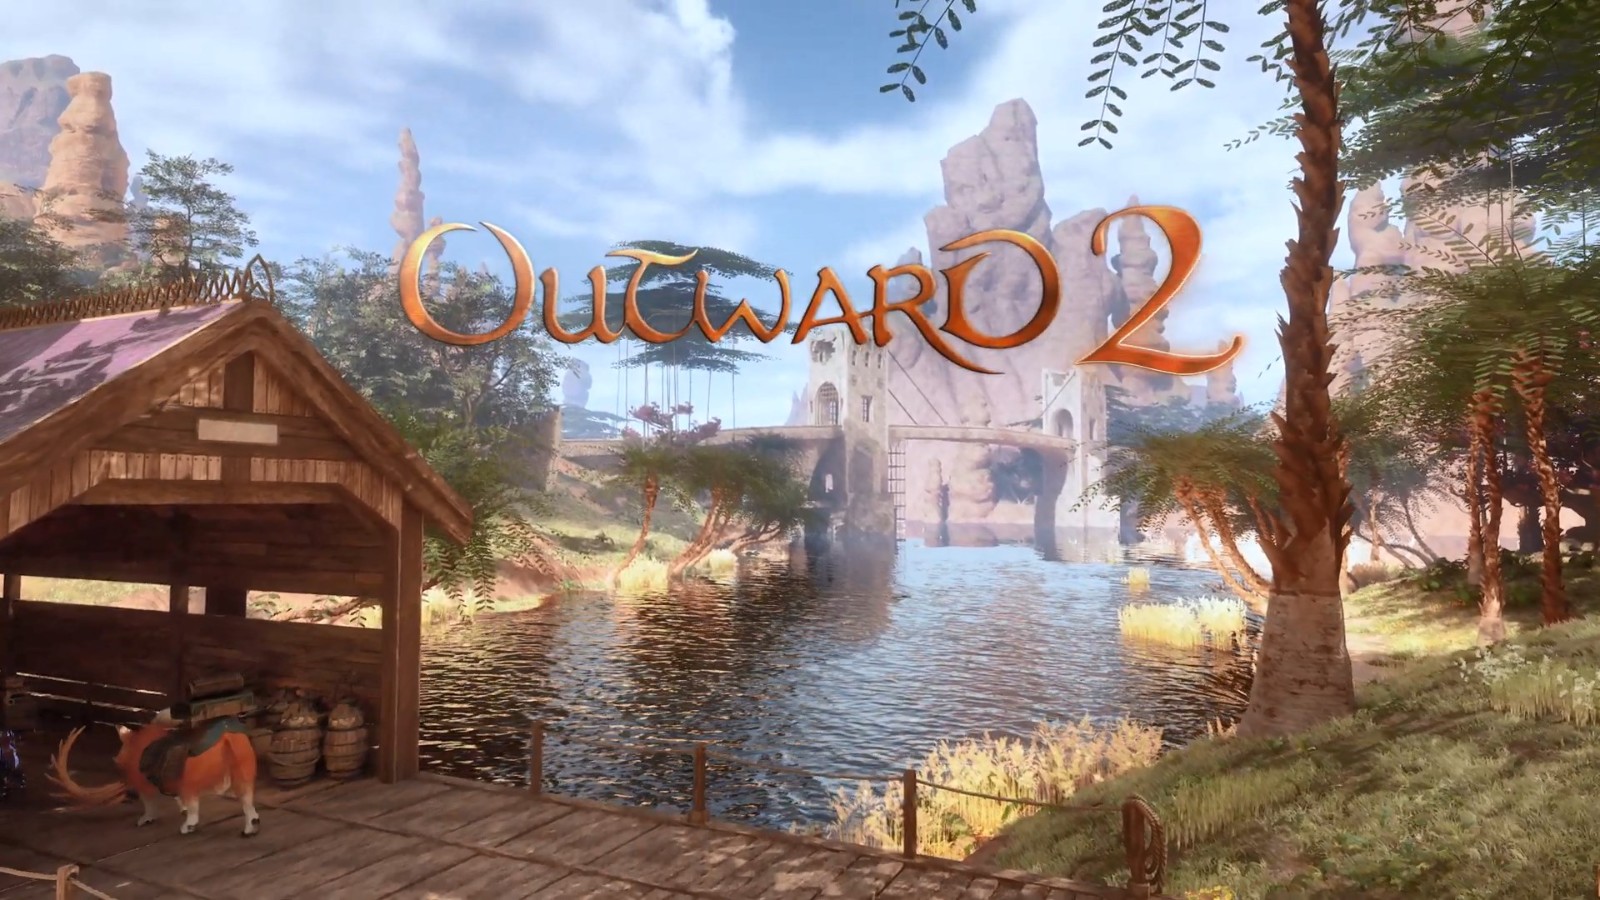
Developed by the Canadian independent studio Nine Dots Studio, the anti-traditional RPG Outward 2 enters Early Access on Steam, the Epic Games Store, and GOG on July 7, 2026, currently available only on PC, with console versions to follow after the full release. The original Outward became known for its anti-hero premise — “you are just an ordinary person” — and its unforgiving survival mechanics, selling over three million copies worldwide, while the studio itself expanded from ten to thirty people. The sequel is set roughly fifty years after the original, with the stage moved to four entirely new regions of the continent of Aurai. The following guide is based on officially released information and survival logic validated in the original game, and aims to help newcomers survive the most punishing first ten hours in the world of Outward 2.
Starting Background Selection
During character creation, players choose from three Opening Scenarios: a Miner from Tramontane, a Wanderer from Seamane’s Bastion, or a Scribe from Habu. Each scenario features different starting enemies, obstacles, and a guided quest that naturally steers the character into dangerous situations. After completing the initial quest, players must also pick from eleven Backgrounds. These backgrounds influence attribute values, starting equipment, and dialogue options throughout the entire game — different backgrounds lead to meaningfully distinct narrative experiences.
For players who have never touched the Outward series, the Miner scenario is recommended for a first playthrough. The Miner’s initial quest takes place in the mines of Tramontane, with enemy types consisting primarily of cave-dwelling creatures, and the pacing is relatively manageable. The starting equipment includes a pickaxe, which can be used for early-stage ore gathering. The Wanderer scenario, by contrast, is focused on wilderness survival and carries a higher difficulty, making it better suited for players already familiar with the survival mechanics. The Scribe scenario leans more heavily on dialogue and negotiation systems, with relatively fewer combat encounters, making it a more narrative-oriented experience.
The choice of Background depends on how you wish to interact with the world. Those who prefer direct combat may choose the Soldier or Hunter background. Those who favour evasion and stealth may opt for Poacher or Smuggler. Those inclined towards survival and gathering may select Gatherer or Fisherman. The additional dialogue options that different backgrounds unlock in initial conversations are particularly worth noting — certain backgrounds may unlock shortcuts or allow combat to be bypassed entirely in specific quests, consistent with how different faction dialogue operated in the original game.
Backpack Management: The Lifeline of Survival
Nine Dots Studio refers to this mechanic as “intentional inventory management.” The backpack is the character’s most essential survival tool, and players must plan ahead for how much in the way of rations, potions, weapons, and camping equipment to carry. During combat, the backpack must be dropped on the ground to allow free movement and dodging, and then retrieved once the fight is over. This mechanic was already one of the most discussed features among the player community in the original game — some found it immersive and authentic, while others found it frustrating to the point of exasperation. The most common mistake new players make is being reluctant to drop the backpack. When you face combat while heavily loaded, your dodge roll distance is shortened, dodge speed is reduced, and recovery time after standing up is extended — all three combined essentially mean you are defenceless when surrounded. Make it a habit to drop the backpack before triggering combat, and only return to retrieve your gear once you have confirmed that no enemies remain in the vicinity.
Items in the backpack should be organised into four categories: Rations, Potions, Weapons, and Camping Equipment. Rations include bread, dried meat, and drinking water, each with a different shelf life — expired rations spoil and cause food poisoning. Potions are divided into healing potions and attribute potions; the former restore health, while the latter provide temporary attack or defence buffs. It is advisable to carry at least two weapons — a primary weapon for dealing with the main threat, and a backup for when the primary weapon breaks. Camping equipment includes a tent, a sleeping bag, and a portable stove — the basic setup for spending the night outdoors and cooking food.
To alleviate the problem of frequent backtracking between regions, the sequel introduces a Mule system. Mules can transport items between regions, significantly reducing the aimless travel time that was a common complaint in the original game. However, mules cannot defend themselves in combat, and must be left at a Mule Station before entering dangerous areas — otherwise, all supplies carried by the mule may be lost during a fight.
No Fast Travel, No Quest Markers: The Rules of This World
Outward 2 is a standard-bearer for the anti-magic-fast-travel philosophy — there is no fast travel, no GPS markers, no floating quest objective indicators. Players must learn to read the map, observe their surroundings, and find their own way. The core tools for wilderness navigation are a hand-drawn map and environmental reference points — the silhouette of a mountain, the course of a river, a distinctive tree or rock formation can all serve as clues for identifying your current location.
There is no traditional experience point or level system in the game. A character’s strength grows through three main avenues: new skills (unlocked through trainers and quests), better equipment (obtained through crafting, purchase, or looting), and knowledge the player themselves accumulates (which cave leads to which region, which monster is weak to which weapon type). You will die many times, but each death teaches you more about where to go next — and where not to go. This stands in contrast to the paradigm in most RPGs where death functions purely as a punishment. In Outward 2, death operates more as a means of gathering information.
The Four-Season Cycle and Survival Rhythm
The continent of Aurai operates on a full four-season cycle, with the passage of time tied to the real-world calendar. Seasonal changes bring not only visual differences but also tangible gameplay consequences — visibility plummets and body temperature drops rapidly during blizzards, carrying metal weapons during thunderstorms increases the likelihood of being struck by lightning, and drought seasons can cause freshwater sources in certain regions to dry up entirely.
The most important survival principle for newcomers is this: stockpile supplies before winter arrives. When the first winter sets in, a character without sufficient firewood, dried rations, and warm clothing will rapidly lose health from hypothermia in the wilderness and die within a short time. It is advisable to gather as much firewood and medicinal herbs as possible during summer and autumn, to reserve at least three full days’ worth of rations, and when camping, to position the campfire on the leeward side of the tent to reduce heat loss.
For players experiencing Outward 2 for the first time, a safe early-game rhythm is: explore and gather during the day, return to camp or a safe zone in town at night to recover, and stay indoors entirely during blizzards. This rhythm may seem slow, but during the resource-scarce opening hours, it is the least costly way to survive.
Two-Player Co-op Mode and Boss Fight Strategy
The game supports a co-op mode for up to two players, including local split-screen and online multiplayer. The two-player cap is a deliberate design choice — the creative director has stated that having more than two players would shift the emotional core from immersion to group dynamics. When playing in a pair, it is recommended that one player take on the role of defence and drawing enemy attention, while the other focuses on damage output and healing. Quest rewards in co-op mode are shared between both players — all equipment rewards from quests are issued to both players simultaneously, eliminating any need to compete over a single piece of gear.
In boss fights, which player is responsible for drawing aggro and which is responsible for dealing damage must be clearly communicated before the encounter begins. Once the boss locks onto one character, the other should immediately seek an advantageous position for damage dealing. If the damage-dealing character is brought low, the aggro-drawing character must immediately use a taunt-type skill to pull the boss’s attention back. Compared to playing solo, the two-player co-op mode offers a considerably higher margin for error — but the cost of a coordination failure can also be far more punishing.