
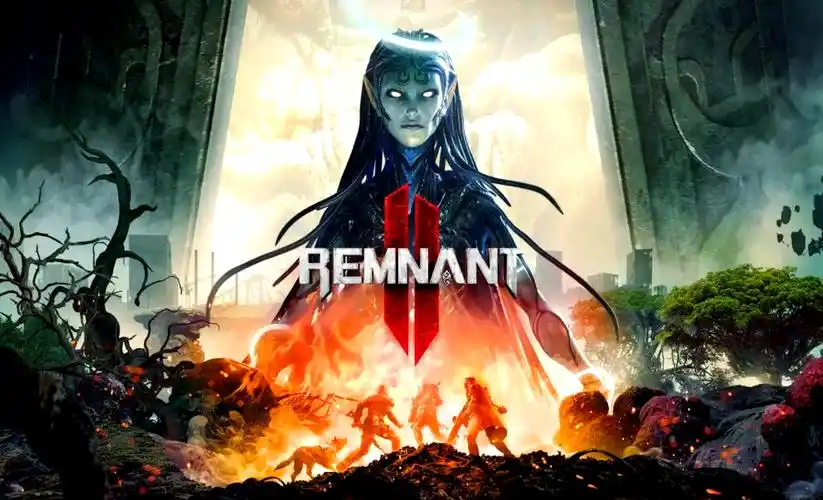
Developed by Gunfire Games and published by Arc Games, the third-person shooter ARPG Remnant 2 released its third DLC, “The Dark Horizon,” in September 2025, and continues to receive balance updates and content adjustments throughout 2026. Blending gunplay, RPG progression, and procedurally generated maps, the core joy of Remnant 2 lies in the extraordinary freedom of its dual-archetype system, the staggering combinatorial possibilities of weapons and accessories, and deeply hidden secrets. Unlike many loot-driven grinders, Remnant 2 does not simply inflate numbers; it achieves build diversity through mechanical depth. This guide covers beginner Archetype selection, early loot routes, and endgame build crafting.
Core Archetype Recommendations: From Solo Survivor to Team Anchor
The class system in Remnant 2 is called Archetypes. Each player can equip two Archetypes simultaneously—the Prime Archetype provides the active Prime Perk and a unique Trait, while the Secondary Archetype offers a selection of passive bonuses. A new player’s first choice deserves careful consideration, as your starting Archetype defines the combat experience of the initial hours.
Handler is indisputably the strongest solo leveling Archetype. Its core mechanic is a loyal canine companion who constantly draws enemy aggression, automatically revives the player when downed, and, when the skill is activated, grants the entire team movement speed and damage resistance. For newcomers facing waves of enemies alone, the dog’s value cannot be measured by any number—it literally doubles the game’s margin for error. The combination of Prime Handler with Secondary Medic is the most stable configuration for clearing the main campaign solo.
Challenger serves as the core of any melee-oriented build. Its signature skill, “War Stomp,” creates a high-damage shockwave directly ahead, suited for players who enjoy charging into the fray. However, Challenger has a noticeably steeper learning curve than Handler: you need a more precise grasp of enemy attack patterns and dodge timing because your combat range is exactly within the enemy’s reach.
Hunter is the benchmark for ranged damage. Its active skill marks all enemies in line of sight while boosting critical hit chance. Hunter excels as a Secondary Archetype—its marking skill and ranged damage passives pair perfectly with almost any gun-focused build, and many high-difficulty teams in the endgame specifically include a Hunter Archetype.
Weapon System and Upgrade Path
Remnant 2’s weapons fall into three categories: Long Guns, Handguns, and Melee Weapons. Long Guns serve as the primary damage dealer in standard combat (rifles, shotguns, bows, etc.). Handguns supplement damage or cover reload gaps, while Melee Weapons are mainly used to conserve ammunition rather than as a primary damage source.
Beginners need to decide on a weapon upgrade direction early. The game’s forging materials are split into two main types, and the resource cost per upgrade rises exponentially. Trying to raise multiple weapons simultaneously in the early game is nearly impossible. It is recommended to concentrate resources on upgrading one primary Long Gun to the current forge-level cap within the first ten hours, using the Handgun and Melee Weapon only for supplemental utility.
When choosing a weapon, the Blackmaw AR-47 is the most beginner-friendly rifle. Its base stats are exceptionally balanced—large magazine, moderate fire rate, and manageable reload time—ensuring it will not let you down in most combat scenarios. It can be purchased directly for Scrap from the weapons vendor in Ward 13, requiring no special unlock conditions.
If you prefer a melee playstyle, Atom Smasher is a powerful hammer worth a specific trip. You need to take the train to the post-apocalyptic world of N’Erud, where it lies hidden in a secret room at the final station. This hammer’s special effect releases an area-of-effect radiation wave on charged attacks, making it extremely efficient against clusters of small enemies. However, melee in Remnant 2 has an uneven risk-reward ratio; pure melee builds have a steep learning curve against flying enemies and environments saturated with ranged fire.
Accessory Synergies and Stat Priority
Accessories are the most overlooked power source for new players, yet the combined effect of four Rings and one Amulet rivals the weapon itself in determining combat effectiveness. Ring effects encompass critical hit chance, weak-spot damage, skill cooldown, health regeneration, and more. The Amulet typically provides a central mechanical modifier, such as “all shots cost extra ammo but deal significantly increased damage.”
For beginners, the top priority in the very early game is stacking Health and Damage Reduction, not raw offensive output. The game’s procedural generation means you may not always find the perfect defensive rings immediately, but a reliable reference point is: choose a survival-oriented Amulet (such as the Rusted Navigator’s Pendant, which grants health and stamina), ensure at least two Rings are dedicated to survivability (like the Ring of the Mother providing flat damage reduction), and let the remaining Rings and weapon Mods focus on damage. This balanced setup can clear the Normal and Hard difficulties reliably.
Endgame Build Overview: From Completed Build to Final Form
Once you have cleared the main campaign once, you can start constructing a proper finished build. Among the many build philosophies, Devastator / Bow + Critical Ring Setup is a practical endgame approach validated by a large number of players. The principle is to leverage the high base damage of the Devastator crossbow (or a bow like Sagittarius), combined with skills, rings, and mods to stack critical hit chance and critical damage, delivering bursts that far exceed normal output.
The core components of this build include: Primary Weapon Devastator (obtained from DLC areas depending on version), Amulet Shatterbone Necklace (increases damage against non-weak spots), Rings such as Deceiver’s Band (boosts critical hit chance) and Ring of the Black Hole (increases ranged damage), with skills Hunter’s Mark (providing critical chance) and Challenger’s War Stomp (adding area burst capability).